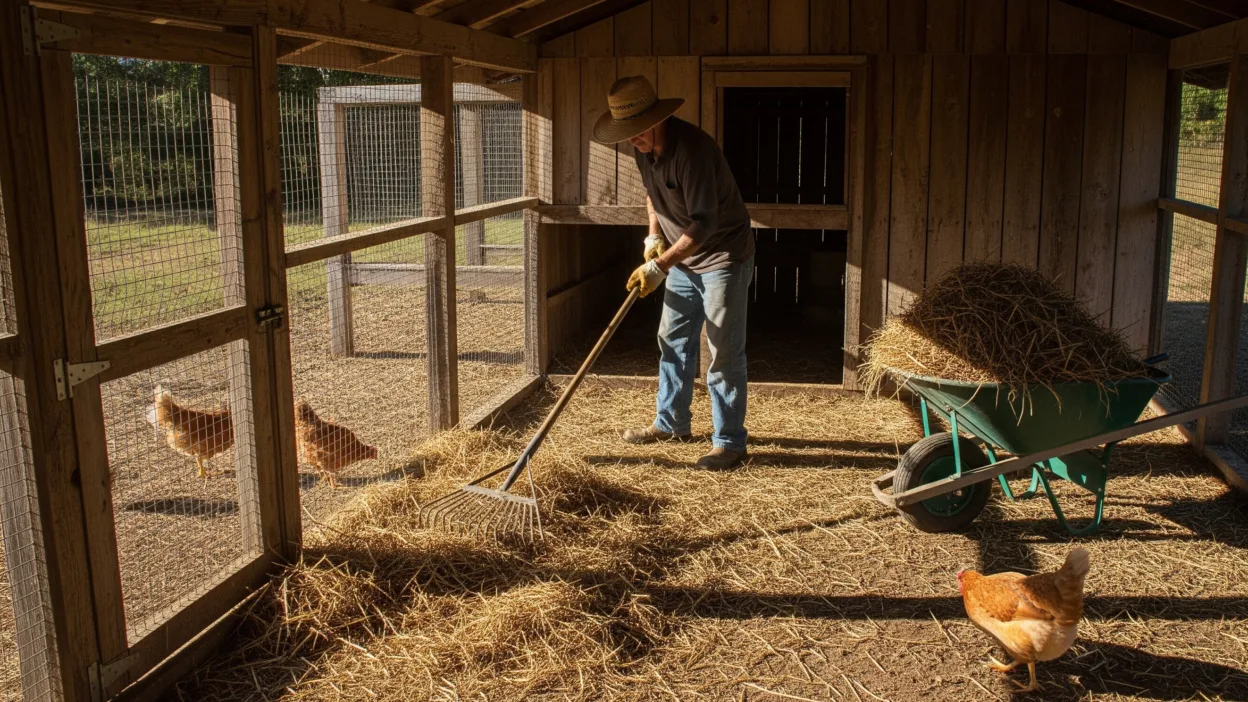
Keeping your chicken coop clean is one of the most important parts of raising healthy, productive hens. A dirty coop can lead to disease, parasites, bad odors, and even reduced egg production. On the other hand, a well-maintained coop keeps your flock happy, reduces stress, and ensures fresh, high-quality eggs.
Many new chicken keepers ask, How often should I clean my chicken coop? and What’s the best way to do it? This guide breaks down the essentials of coop cleaning, from frequency to step-by-step instructions, so your backyard flock thrives.
Why Coop Cleaning Matters
Chickens are naturally hardy animals, but they’re also vulnerable to poor living conditions. A dirty coop quickly becomes a breeding ground for harmful bacteria, mites, lice, and respiratory issues caused by ammonia buildup from droppings. Keeping the coop clean helps:
- Prevent parasites and disease
- Improve air quality and reduce ammonia smells
- Boost egg production and overall hen health
- Make chores easier in the long run
A clean coop is not just about flock health. It also makes backyard chicken keeping more enjoyable for you and your family.
How Often Should You Clean the Chicken Coop?
The frequency of coop cleaning depends on several factors: flock size, coop size, bedding type, and climate. Still, there are some general guidelines that work for most backyard chicken keepers:
Daily Tasks
- Collect eggs to keep nests clean
- Check waterers and feeders for spills or droppings
- Remove obvious wet or soiled bedding
Weekly Tasks
- Change nesting box bedding
- Spot clean heavily soiled areas under roosts
- Rake or stir bedding if using the deep litter method
Monthly Tasks
- Remove all bedding and replace with fresh material
- Scrub feeders and waterers thoroughly
- Clean out droppings under roosts
Seasonal Deep Clean
At least 2–4 times a year, give your coop a full deep clean. This involves removing all bedding, disinfecting surfaces, and refreshing the setup. Many keepers time deep cleans with the change of seasons, spring, summer, fall, and before winter.
If your coop is small or your flock is large, you may need to deep clean more often.
Methods of Coop Cleaning
There are two main approaches to coop management: regular clean-out and the deep litter method.
Regular Clean-Out
This is the traditional method where bedding is removed and replaced frequently. It keeps the coop consistently fresh but requires more frequent work.
Deep Litter Method
This technique involves adding fresh bedding over old bedding instead of removing it every week. The litter composts naturally, generating beneficial microbes and heat in winter. Still, you must turn the bedding regularly and perform a full clean out several times a year.
Step-by-Step Guide to Cleaning a Chicken Coop
Here’s a simple routine to follow when it’s time for a full clean-out:
1. Prepare Your Supplies
- Gloves and mask (for dust and ammonia)
- Shovel or scraper
- Stiff brush and broom
- Mild, chicken-safe disinfectant (vinegar solution works well)
- Fresh bedding (straw, wood shavings, hemp, or sand)
2. Remove Chickens
If possible, let your flock free range while you clean. This keeps them safe and out of the way.
3. Clear Out Bedding and Droppings
Scoop out all bedding, droppings, and debris. Compost the material if you can, chicken manure is excellent for gardens once aged properly.
4. Scrub Surfaces
Scrape dried droppings from roosts, nesting boxes, and floorboards. Use a brush and vinegar water mix or a mild soap to scrub surfaces clean.
5. Disinfect
Spray a light disinfectant on roosts, walls, and nesting boxes. Avoid harsh chemicals that may harm chickens. Let surfaces dry completely before adding fresh bedding.
6. Check for Pests
Inspect for mites, lice, or rodent activity. Sprinkle food grade diatomaceous earth in corners and under bedding if needed.
7. Add Fresh Bedding
Spread a thick, clean layer of your preferred bedding. Replace nesting box liners with fresh material.
8. Reset Feeders and Waterers
Refill clean feeders and waterers. Position them where droppings are less likely to fall in.
9. Return Chickens
Once everything is dry and refreshed, let your flock back inside.
Choosing the Right Coop Bedding
Bedding plays a major role in how often you’ll need to clean your coop. Here are common options:
- Wood shavings: Absorbent and affordable, great for small flocks.
- Straw or hay: Traditional bedding but can mold if it gets wet.
- Sand: Easy to scoop daily, keeps coops very clean.
- Hemp bedding: Eco-friendly, long-lasting, and very absorbent.
Pick the material that fits your budget and local climate best.
Tips for Easier Coop Maintenance
- Use Droppings Boards: Place removable trays under roosts to collect manure daily.
- Add Ventilation: Good airflow reduces ammonia and moisture buildup.
- Nesting Box Liners: Use washable or disposable liners for quick cleanups.
- Regular Pest Checks: Dust baths and diatomaceous earth help prevent mites naturally.
- Stick to a Schedule: A consistent routine makes coop care manageable.

Winter and Summer Cleaning Considerations
- Winter: Deep litter method is helpful for warmth. Remove wet spots quickly to avoid frostbite risk.
- Summer: Clean more often since heat increases odor and flies. Keep bedding dry to reduce pests.
Adjust your routine according to the season and your climate.
Cleaning your chicken coop is one of the simplest yet most powerful ways to ensure healthy, happy hens and steady egg production. By setting up a schedule that balances daily tasks with seasonal deep cleans, you’ll prevent disease, reduce odors, and make chicken keeping more enjoyable. Whether you use the regular clean-out method or the deep litter system, consistency is key.
A fresh, well-maintained coop benefits both you and your chickens. With the right cleaning strategy, you’ll enjoy fresh eggs, healthier hens, and a more rewarding backyard farming experience.


